How to Draw Floor Plans in AutoCAD in 5 Min: Easily Explained 2024
- March 26, 2024
How to Draw Floor Plans in AutoCAD?
A floor plan often contains a space at the entrance of a property. It is intended to function as a transitional zone between the outside and the interior. It must be intimidating to make a well-organized strategy for someone who has never done it before.
Several factors need to be taken into account, such as providing storage options and multipurpose furniture pieces as well as sturdy and non-slip flooring materials. Furthermore, for new DIYers, locating a low-maintenance floor design is difficult.
Today we decided to share our knowledge and creative prowess with you in this post in light of all these worries. Together, we will create a functional and fashionable floor plan that fits your family’s requirements.
What could be the best tool other than AutoCAD? You must be familiar with AutoCAD that’s why you are here. Now, you are looking for a solution to draw floor plans. Trust us! With AutoCAD, it’s a piece of cake!
Let’s start.
What Is a Floor Plan?

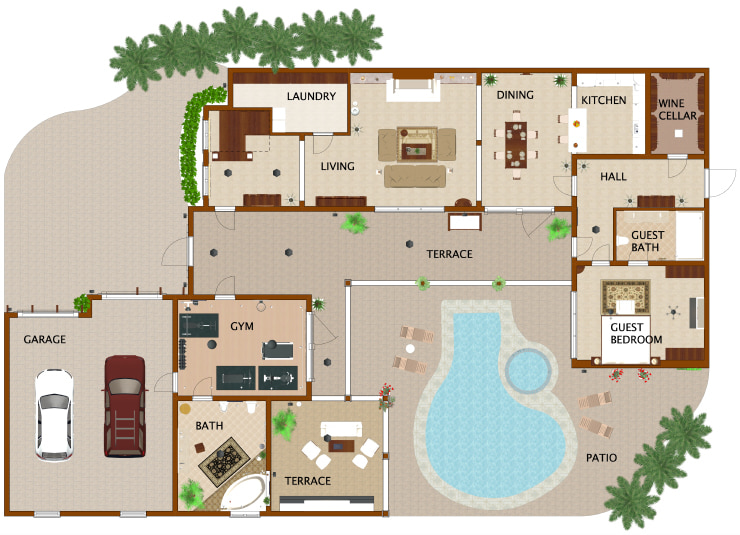
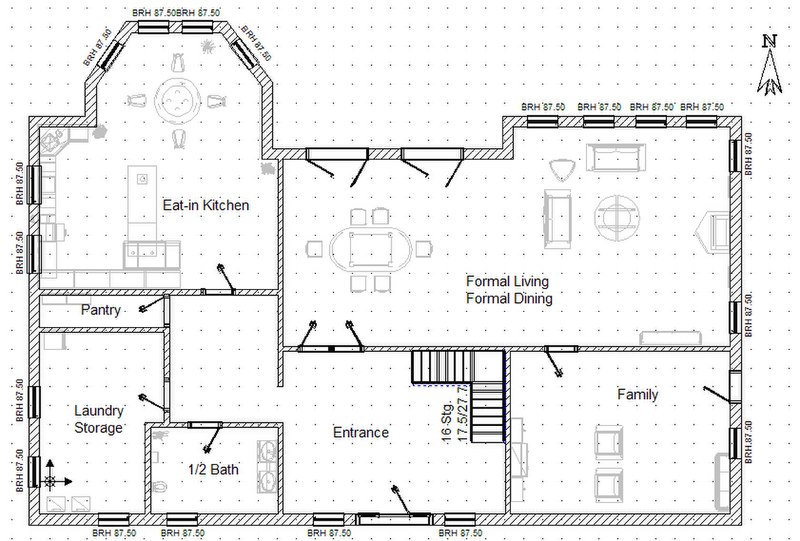
Before construction starts, floor plans help deliver an overview of an architectural project. All of the participants can see how the architecture will be constructed thanks to the floor plan, which includes all of the measurements and proportions of the physical aspects of the design. Now that you are aware of floor plans and their applications, let’s move on to learning how to make a floor plan in AutoCAD.
An application for computer-aided design and drafting called AutoCAD was created by “Autodesk.” The program’s interface enables users to create and edit two and three-dimensional forms fast and effectively. Let’s now examine a few simple procedures for creating a floor layout in AutoCAD.
Learn more about Clutter-Free Entry Mudroom Floor Plan Guide for Small Spaces
How to Draw Floor Plans in AutoCAD?

AutoCAD offers an easy interface for learners. It’s easy to learn even if you are just starting in the drafting industry. And if you know your floor plans well, it’s a matter of time to put them digitally in AutoCAD.
Our step-by-step guide will help you further. Continue reading to find out more.
Step 1: Draw the External Properties First
To begin drawing templates, click the “New” button in the top toolbar, then pick the “Tutorial i-Arch” template. To move between model spaces in the new drawing, click the “Paper” button at the bottom of the screen in the status bar. In the model space, a UCS icon will appear in place of a triangle.
When the draw panel appears, click the ribbon on the Home tab and select the “Rectangle” option to design the outer wall. Click the “Offset” option in the Modify panel, type 9, and click the Enter key. Select the rectangle. To construct the opposite side of the wall, provide the inside point and press the Enter key to exit the offset command.
Step 2: Move on to The Interior
Because there is no double-line tool on the ribbon, you must type DLINE if using AutoCAD LT, or enter MLINE and then press type to begin the command. Type w, then press the space bar to select the width choice. To set the width of the internal walls, enter 4. Right-click and choose “Osnap Overrides,” then “Nearest.” Click inside the triangle to choose a wall location on the east side.
Click to specify a spot inside the structure. Again, right-click and choose “Osnap Overrides,” then “Perpendicular.” To exit the DLINE command, click anywhere inside the south outer wall.
Step 3: Get A Case
Go to the object snap menu in the status bar by clicking the drop-down arrow. To enable these modes, click on “Midpoint, Nearest, and Perpendicular”.
Draw a little 9-line through the outside wall on the east side by clicking the “Line” button on the ribbon.
Select the Line you made and click “Copy” on the ribbon, then click on the chosen Line to set the base point. To define a direction along the wall, move your mouse but do not click; instead, write 48 and hit enter.
Click the “Line” button on the ribbon to indicate the midpoint of one of the lines you made, then click again to specify the midpoint of the second line. Finally, press the ESC key to deactivate the line command, and your tiny window is complete.
Make sure to stay in the correct layer. Follow the tips below –
- Standards for door clearance and width may be found in step 3.
- Turn on OS (Object Snap) for precise and easy positioning of doors/windows.
- Ensure that Polar Tracking (PT) is on as well.
Step 4: Add Utilities and Movables
The layout of our new home includes rooms, doors, and windows, but we still need to add appliances! To add a new layer: Navigate to Layer Properties > New Layer; there should be a tiny yellow star there.
Then, just name the layer and select a color! Make sure it isn’t already taken. Take Advantage of the Architecture Resources! You are welcome to utilize whichever furnishings you like. Make it your own.
Use the kitchen layout if you’re using my floor plan; I created it specifically to fit! Turn off the OS while situating equipment; it will make your job simpler.
Furniture is a fantastic addition if you are a professional creating a real-life floor design for prospective buyers or homeowners! It not only displays how the space is used, but it also helps to separate each area more clearly.
Conclusion
Our guide “How to draw floor plans in AutoCAD” is simple. And may miss all the complex and detailed configuration of AutoCAD floor plans. However, it is informative enough for beginners.
Honestly! AutoCAD offers a simple and basic interface for 2D plans, you can easily get started in just a few minutes. And if you already know what floor plans are, our guide will fill the gap and get you onboard with AutoCAD.
Additionally, you may need more help other than just floor plans. We are always at your service. AutoCAD India provides professional solutions to your day-to-day drafting problems. To learn more about us, take a look at our services here.
