
3D Printing – 7 Tips for Creating the Perfect Model 2024
- November 14, 2023
3D printing has revolutionized the world of manufacturing and design. It allows us to transform digital designs into tangible objects quickly and efficiently. Whether you’re a seasoned 3D printing enthusiast or just starting out, creating the perfect model can be a challenging task.
In our article, we will explore seven valuable tips that will help you achieve the best results in your 3D printing projects. We’ll use simple language to ensure that everyone, regardless of their experience, can understand and benefit from this information.
3D Printing – 7 Tips for Creating the Perfect Model
Let’s cut it short and begin already. Here are 7 hacking tips for creating the perfect model with 3D printing.
Tip 1: Select the Right 3D Printer
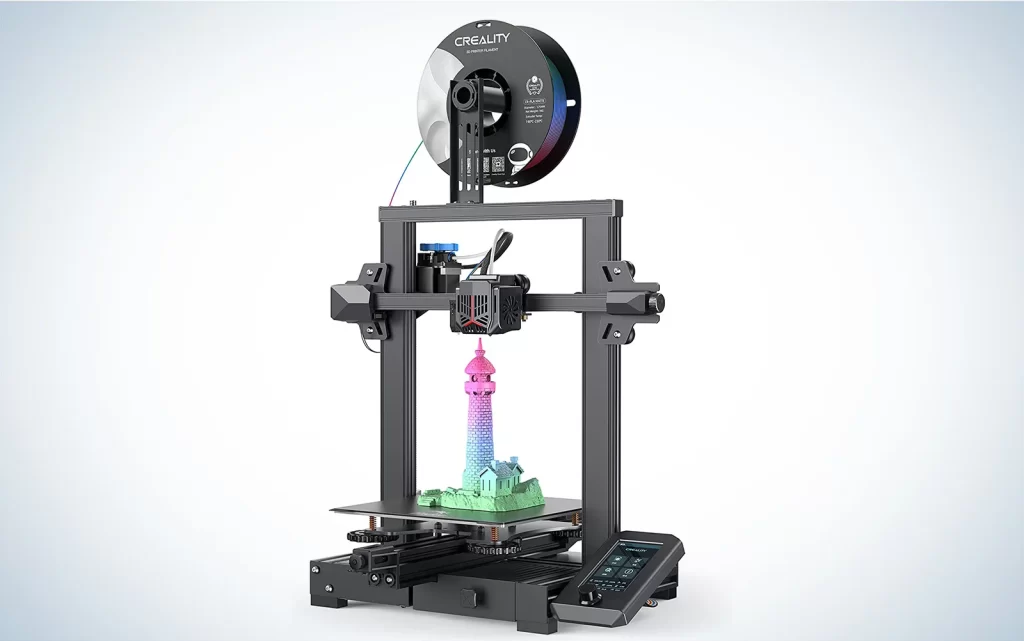
Selecting the perfect 3D printer is really important for making sure your project turns out great. Think about three things: how much money you have, what you want to make, and what stuff you want to use.
There are different types of 3D printers, like the FDM, SLA, and SLS.
FDM printers are usually the cheapest. They’re like the go-to choice for beginners because they’re easy on the wallet. SLA and SLS printers are fancier but cost more. They can make things very precisely, like a super-accurate artist, but they can be a bit pricier.
So, it’s like choosing the right tool for the right job. If you’re just starting out, a basic printer is like learning to ride a bicycle before driving a sports car. It’s all about what fits your budget and what kind of stuff you want to create.
Tip 2: Optimize Your 3D Model
Before you start making your 3D thing, it’s like preparing a yummy recipe. You need to make sure your 3D model is perfect.
Think of your 3D model as a digital sculpture. To shape it, you can use special computer tools like Tinkercad, Fusion 360, or Blender. These tools are like magic wands that help you create amazing designs.
But here’s the secret sauce: Pay close attention to little things like how thick the walls are, parts that stick out too far, and extra structures that help hold your design up while it’s being made. It’s like checking that your cake recipe has the right amount of sugar and doesn’t have any missing ingredients.
Also, make sure your model is super tight, like a locked treasure chest, with no gaps or weird edges. If it’s not, it’s like having a leaky bucket, and that can cause mistakes when you’re printing.
So, before you hit the “make it real” button, take a good look at your digital creation and make sure it’s as perfect as it can be. It’s like making sure your recipe is just right before baking a delicious cake!
Tip 3: Use the Right Filament
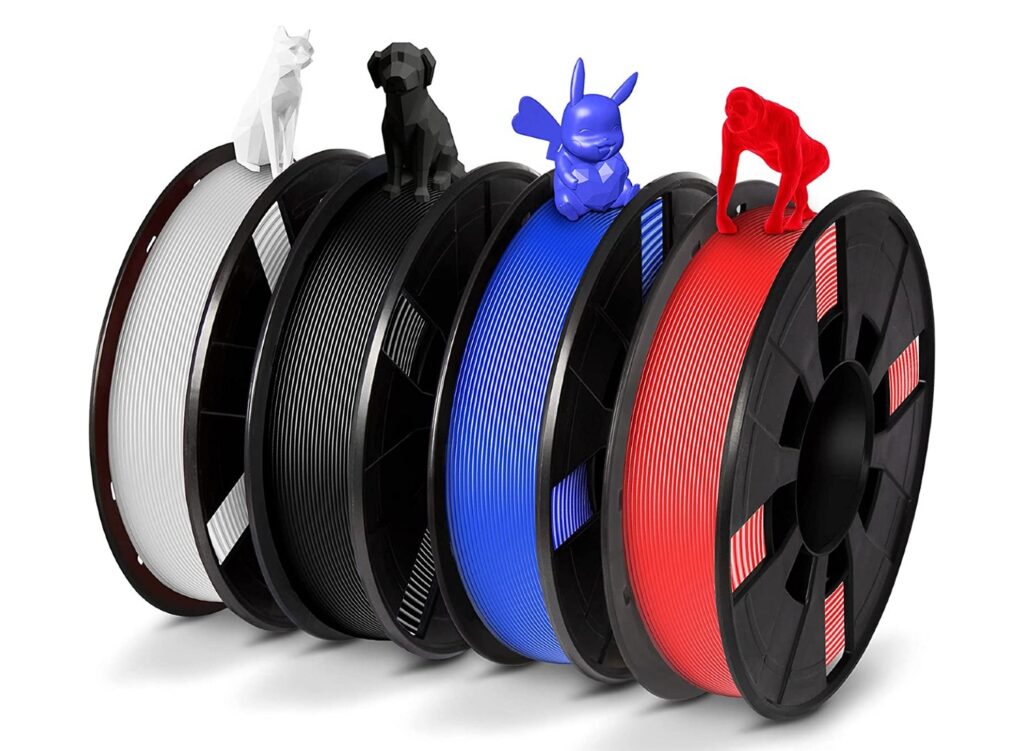
Choosing the right stuff to make your 3D thing is a big deal. It can make your creation strong or not so strong and can even affect its color.
Imagine you’re making a cake, and you can choose different types of frosting. That’s kind of like picking the right stuff for your 3D printing.
Here are some common materials you can use:
PLA is like the easy-to-use frosting. It’s great for beginners because it’s simple and doesn’t bend or twist too much. Plus, it comes in lots of colors, just like a rainbow of frostings for your cake!
ABS and PETG are like sturdier frostings. If you need your 3D thing to be really tough and handle heat well, they’re like heavy-duty frostings that won’t melt easily.
So, it’s like choosing the frosting that suits your cake best. Depending on what you want to make, you’ll choose the material that makes your 3D thing strong, colorful, and just right for your project.
Tip 4: Calibrate Your 3D Printer
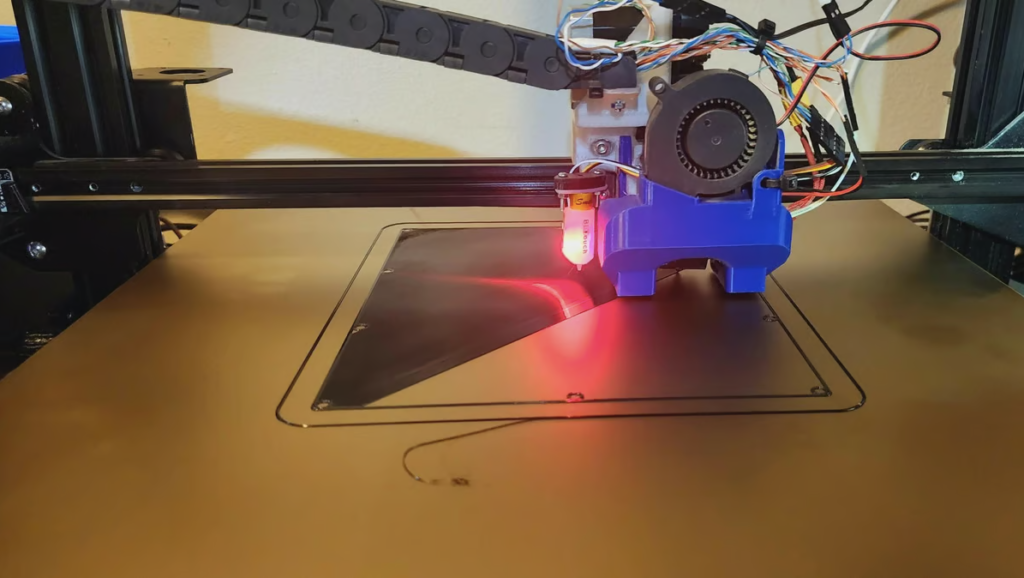
Imagine your 3D printer is like a musical instrument. Just like a guitar needs tuning to make beautiful music, your 3D printer needs tuning to make perfect prints.
Tuning your 3D printer means making sure it’s doing everything right. It’s like checking if the guitar strings are tight and in the right place.
To do this, you need to adjust some settings, like how hot the nozzle gets, making sure the printing surface is flat, and how fast it works. You can find these instructions in the manual that comes with your 3D printer.
But here’s the secret: regular tuning and maintenance, just like playing your guitar every day, make sure your 3D printer always does a great job. So, follow the instructions, and your 3D printer will keep making awesome things for you!
Tip 5: Pay Attention to Cooling
Consider your 3D printer like a chef in a kitchen. Just like a cake needs time to cool after baking, your 3D prints also need a moment to cool down correctly.
Cooling helps your 3D stuff become strong and look great. You know how blowing on hot soup cools it down? Your 3D printer has fans to cool the stuff it’s making.
Most 3D printers already have these fans, but sometimes you might need an extra one. It’s like using a fan in a hot room.
Here’s the thing: If your 3D stuff gets too hot, it can get all wobbly, like a melting ice cream cone. That’s not what you want. So, make sure your cooling system is working well. It’s like making sure your cake cools down properly so you can enjoy it without any problems
Tip 6: Understand Layer Height
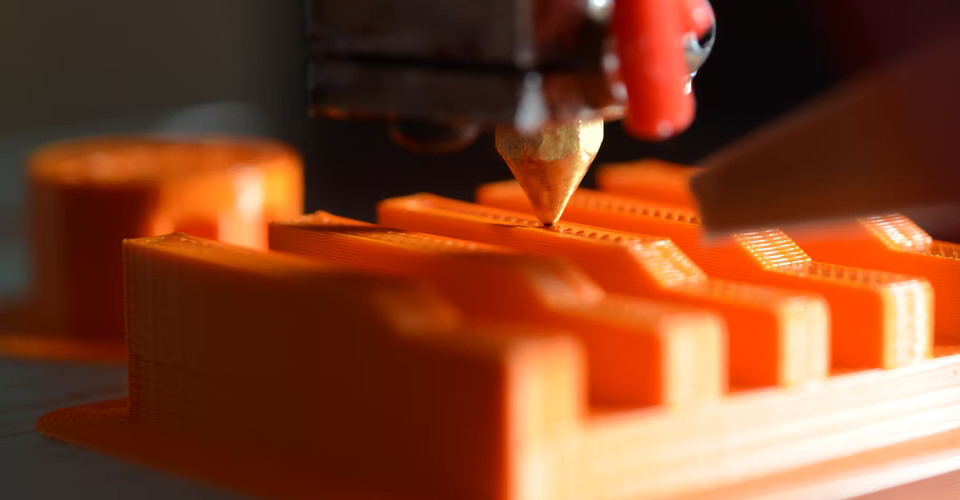
Choosing the right layer height is like choosing the size of your bricks when building. Smaller layers, like tiny bricks, make your creation super smooth and full of tiny details. But there’s a catch; it takes a bit more time to stack them all up.
On the other hand, bigger layers, like bigger bricks, can build your thing faster. But you might lose a bit of the fine details, like using bigger Lego pieces to build something.
So, you need to pick the layer height that’s just right for what you’re making. It’s like choosing the right bricks for your tower. Not too big, not too small – just perfect for your project. That way, you get the best result without waiting forever!
Tip 7: Practice Patience and Experiment
When you’re learning to ride a bike, at first, you might wobble and even fall down. But you don’t give up, right? You keep trying and get better.
It’s the same with 3D printing. Your first tries might not be perfect. Don’t feel sad; it’s all part of the learning. Instead, look at what went wrong and change the settings a bit. It’s like adjusting your bike seat or handlebars to make your ride smoother.
You can also try different ways of making your 3D stuff. It’s like trying new bike routes. For example, you can test different patterns, speeds, or support structures. It’s all about finding what’s best for your special project.
So, keep your chin up, be patient, and enjoy the adventure of 3D printing. It’s like learning to ride a bike – it gets better with practice!
The Last Touch
Creating the perfect 3D print model requires a combination of the right equipment, the right design, and the right techniques. By following these seven tips, you’ll be well on your way to mastering the art of 3D printing.
Remember that practice makes perfect, and don’t be afraid to explore and experiment with new ideas. With patience and dedication, you can create stunning 3D-printed objects that meet your office and personal needs. Happy printing!